DIY Herringbone Box - A Creative Way To Add Storage And Style
When I had a baby I knew that toys would be in my home. I did non realize that it would overtake my home. Every bit my kids are getting bigger they are able to organize and put away their own toys. But at that place is still toys everywhere. I wanted to come with a solution that worked for me and my home aesthetically also as functionally.
 View in gallery
  View in gallery
 I came upwardly with the idea of a big wooden storage box that could fit under a burrow or coffee table. Simply, to give information technology a piffling twist I wanted to add a herringbone design to it.
Materials used for the storage box:
- 2 long pinewood boards
- one square pine wood board
- miter saw
- air nailer
- small-scale pino woods strips
- woods glue
- dark walnut stain
 View in gallery
 How to craft this herringbone-patterned storage box:
Step 1: Cutting the boards to size
To begin with I selected pine wood boards. Two long ones and 1 square size. For my purpose I made this storage box big, only whatsoever size can exist washed. I cut the longer boards down to two 22 inch and two 24 inch long pieces. The whole box is 7 1/two inches tall.
 View in gallery
  View in gallery
 Step two: Use the boom gun to make the frame
To make the corner have a snug fit I used a miter saw, set it at a 45-degree bending and cut the edges of all of the boards. The allows each corner to be flush together for a seamless corner. I used an air nailer to put in nails along the corners.
 View in gallery
 Step iii: Measure and cutting the bottom piece
The square board needed to be cut down to a size slightly. I figured out the corporeality I needed to cut by placing the box on elevation of the base board. Tracing the inside of it.
 View in gallery
 And then cutting along my line, allowing the board to exist placed inside the box.
 View in gallery
  View in gallery
 Stride 4: Install the bottom piece
To guarantee that the wood would not come apart with larger nails. I cut 4 small-scale triangles out and placed them in the corners of the bottom. Nether the base board. I nailed the 4 triangles into the four corners on the bottom. Then placing the baseboard on acme. Creating the storage box.
 View in gallery
 Step 5: Prep the small forest strips
Now, I could finish information technology here. But like I said, I wanted to make this stand out and await appealing to my home. It is time to add the herringbone detailing on the front end. I purchased a group of modest pine woods strips 2 inches wide.
 View in gallery
 I cut a group of them downwards to four inches long. This was the size I thought would exist appropriate for my item sized box. Depending on the size of storage box yous would either want longer or shorter ones. Then starting in the middle and working my way out, placing each slice on. The herringbone design is a staggered Five shaped weaving pattern. A broken zigzag, chevron like pattern.
 View in gallery
 Step 6: Glue the forest strips onto the box
I knew there would be some cuts needed on the sides, but to go the pattern organized I laid it all downward. Once all were on, I glued all of the ones down that did non need to exist cut. Using wood glue and belongings downwards for a few seconds to brand certain it stuck.
 View in gallery
 Taking each piece that was hanging off. I traced a line along the border, marking where the cutting needed to be. When they were cutting I glued those into place as well.
 View in gallery
  View in gallery
 Footstep vii: Stain the box
In order to dress up this toy storage box I selected a nighttime walnut wood stain. Wear gloves when putting stains on. Take a soft cloth and dip it in the stain can. Wring information technology out in the tin and then wipe from side to side going with the grain of the wood.
 View in gallery
 If there is whatever dripping, wipe it down apace and rub it into the stain. The concluding few swipes use less stain and longer strokes to make the wipe lines disappear. I put two coats on.
Step 8: Add the rope handles
I could have been done here, just I was wanting to add just a little something more to it. Then I decided to add some rope handles on either side for ease of moving the box in and out of its spot. Also the combination of dark stained wood and the light rope is a not bad look.
 View in gallery
 I marked where the handles should exist. Drilled in two holes.
 View in gallery
 Pushed the rope through a pigsty, and so tied it into a knot. Repeating on the other side. Assuasive a loop to be used as a handle.
 View in gallery
 Step 9: Find a good spot for your new storage box
And then I decided it was plenty. I concluded up with a large toy storage box. When put under my coffee table it just looks like a decorative piece with the herringbone particular. But slide information technology out and all of my kids puzzles are in in that location. Ease for them to go them out, and for me to clean up. I could also store extra pillows or a blanket when not in employ.
 View in gallery
 Finding a fashion to store things, making my home a little more efficient but not compromise my style. Using a herringbone design, night stain, and rope makes this current and on tendency. Combining rustic, refined, and role!
 View in gallery
 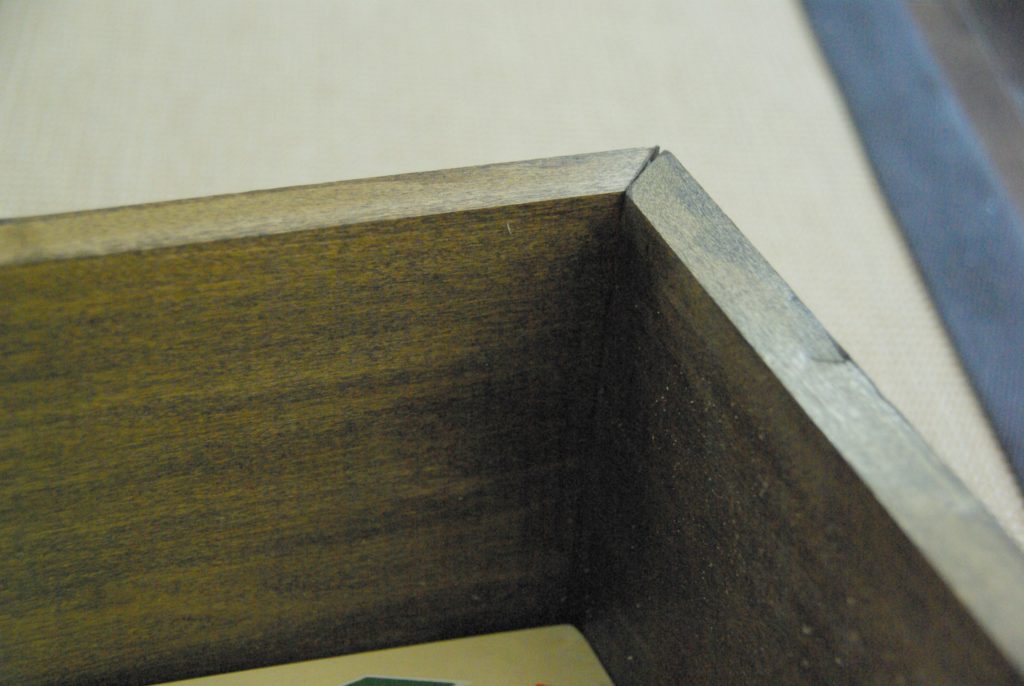 View in gallery
  View in gallery
  View in gallery
  View in gallery
 Source: https://www.homedit.com/diy-herringbone-box/
0 Response to "DIY Herringbone Box - A Creative Way To Add Storage And Style"
Post a Comment